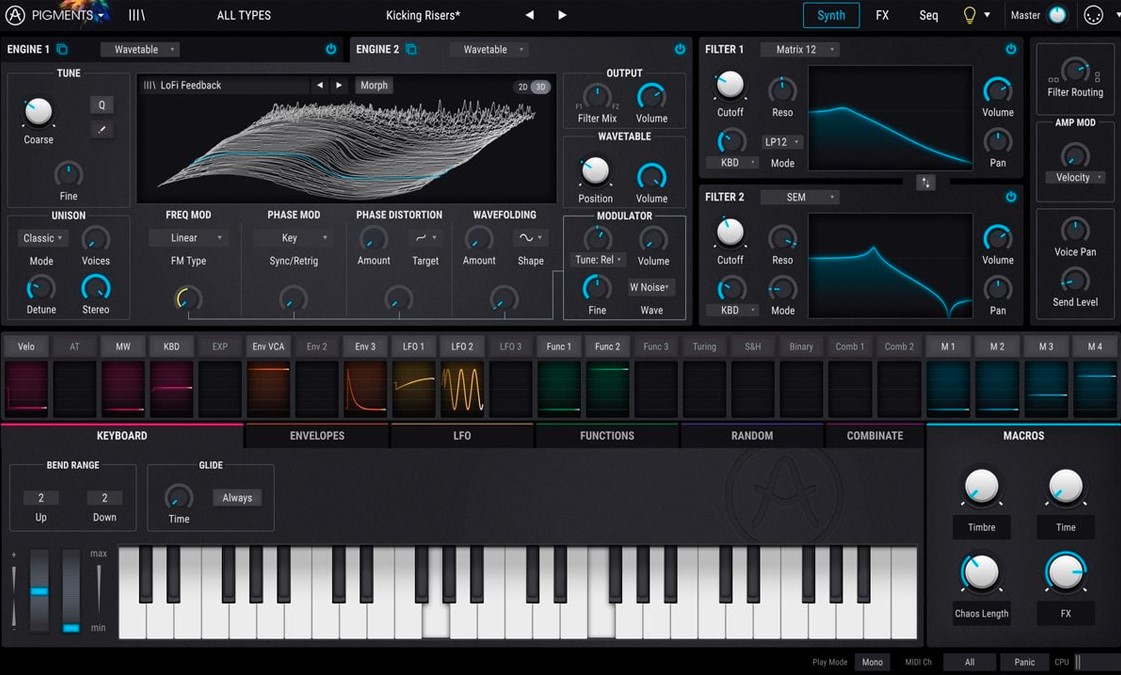
The world of music production has undergone a seismic shift. Gone are the days when mixing a track meant racks of expensive analog gear and a studio full of cables. Today, the magic happens inside your computer, thanks to the power of audio plugins. Whether you’re a bedroom producer or a seasoned engineer, plugins can transform your tracks from raw recordings to polished masterpieces.
But with thousands of plugins available, how do you harness their power without getting overwhelmed? Let’s dive deep into the world of mixing plugins, discover their potential, and learn how to use them for truly magical results.
What Are Audio Plugins?
Audio plugins are software tools that process, generate, or manipulate audio within your Digital Audio Workstation (DAW). They emulate the functions of traditional studio hardware—like EQs, compressors, and reverbs—while offering unique digital capabilities.
Why Use Plugins?
Affordability: Access to world-class effects and processors at a fraction of hardware costs.
Flexibility: Instantly swap, automate, and tweak effects.
Innovation: Creative tools that go beyond analog limitations.
Types of Essential Mixing Plugins
Let’s break down the must-have plugin categories for every mix.
* EQ Plugins –
Equalizers (EQs) shape the tonal balance of your tracks. They help carve space, enhance clarity, and fix problematic frequencies.
Popular EQ Plugins:
* Compressor Plugins –
Compressors control dynamics, add punch, and glue your mix together.
Top Compressor Plugins:
* Reverb and Delay Plugins –
Reverb and delay add depth, space, and movement, making your tracks feel alive.
Recommended Plugins:
* Saturation & Distortion Plugins –
These add warmth, grit, and character, emulating analog tape or tube gear.
Favorites:
* Modulation Plugins –
Chorus, flanger, phaser, and tremolo effects add movement and width.
Great Choices:
* Utility Plugins –
Metering, stereo imaging, and gain staging tools ensure technical accuracy.
Must-Haves:
How Plugins Transform Your Tracks
Plugins aren’t just tools—they’re creative partners. Here’s how they can elevate your mixes:
Precision: Digital EQs offer surgical frequency control.
Consistency: Compressors tame peaks for a balanced sound.
Space: Reverbs and delays create immersive environments.
Color: Saturation and distortion add vibe and warmth.
Movement: Modulation effects keep things interesting.
Clarity: Utility plugins help you spot and fix issues.
Case Study Example:
A muddy vocal track can be sculpted with EQ, compressed for presence, brightened with subtle saturation, and placed in a 3D space with reverb—all using plugins.
Top Plugin Recommendations for Every Producer
Here’s a curated list of plugins that pros and hobbyists alike swear by:
| Plugin Name | Type | Why It’s Great |
|---|---|---|
| FabFilter Pro-Q 3 | EQ | Intuitive, powerful, visual feedback |
| Waves SSL G-Channel | Channel Strip | Classic analog sound, versatile |
| Valhalla VintageVerb | Reverb | Lush, musical, affordable |
| Soundtoys Decapitator | Saturation | Adds character and warmth |
| iZotope Ozone | Mastering Suite | All-in-one mastering, easy to use |
| UAD LA-2A | Compressor | Smooth, musical compression |
| Slate Digital Virtual Mix Rack | Multi-Effect | Modular, customizable rack of classic processors |
| MeldaProduction MEqualizer | Free EQ | Powerful, feature-rich, free |
| Voxengo Span | Analyzer | Free, accurate spectrum analysis |
Creative Plugin Techniques & Tips
1. Parallel Compression:
Blend a heavily compressed signal with the dry track for punch without losing dynamics.
2. Mid/Side EQ :
Shape the center and sides of your mix separately for a wider, clearer sound.
3. Creative Automation :
Automate plugin parameters for evolving effects—think filter sweeps or reverb throws.
4. Layered Effects:
Stack plugins for unique textures—e.g., chorus into reverb, or distortion before delay.
5. Using Presets as Starting Points:
Presets can spark ideas, but always tweak for your track.
Mixing Workflow: Plugins in Action
Let’s walk through a typical mixing session using plugins.
Step 1: Clean Up
High-pass filter on all non-bass tracks
Remove unwanted noise with a gate or expander
Step 2: Balance & Tone
Use EQ to carve space for each instrument
Apply compression to control dynamics
Step 3: Add Depth
Reverb and delay for space
Panning for width
Step 4: Enhance & Polish
Saturation for warmth
Modulation for movement
Stereo imaging for width
Step 5: Analyze & Finalize
Use meters and spectrum analyzers to check levels and frequencies
Reference tracks to compare your mix
Common Mistakes to Avoid
Overprocessing: Too many plugins can muddy your mix.
Ignoring Gain Staging: Keep levels consistent to avoid distortion.
Relying Solely on Presets: Always tweak to fit your track.
Not Using Reference Tracks: Compare your mix to commercial releases.
Forgetting Bypass: Regularly bypass plugins to check if they’re helping.
Conclusion: Unleash Your Mixing Magic
Plugins have democratized the art of mixing. With the right tools and techniques, anyone can craft professional-sounding tracks from their laptop. The key is to experiment, trust your ears, and use plugins as creative partners rather than crutches.
Whether you’re chasing analog warmth, digital precision, or wild new effects, there’s a plugin for every purpose. So fire up your DAW, load up your favorite plugins, and let the mixing magic begin!


