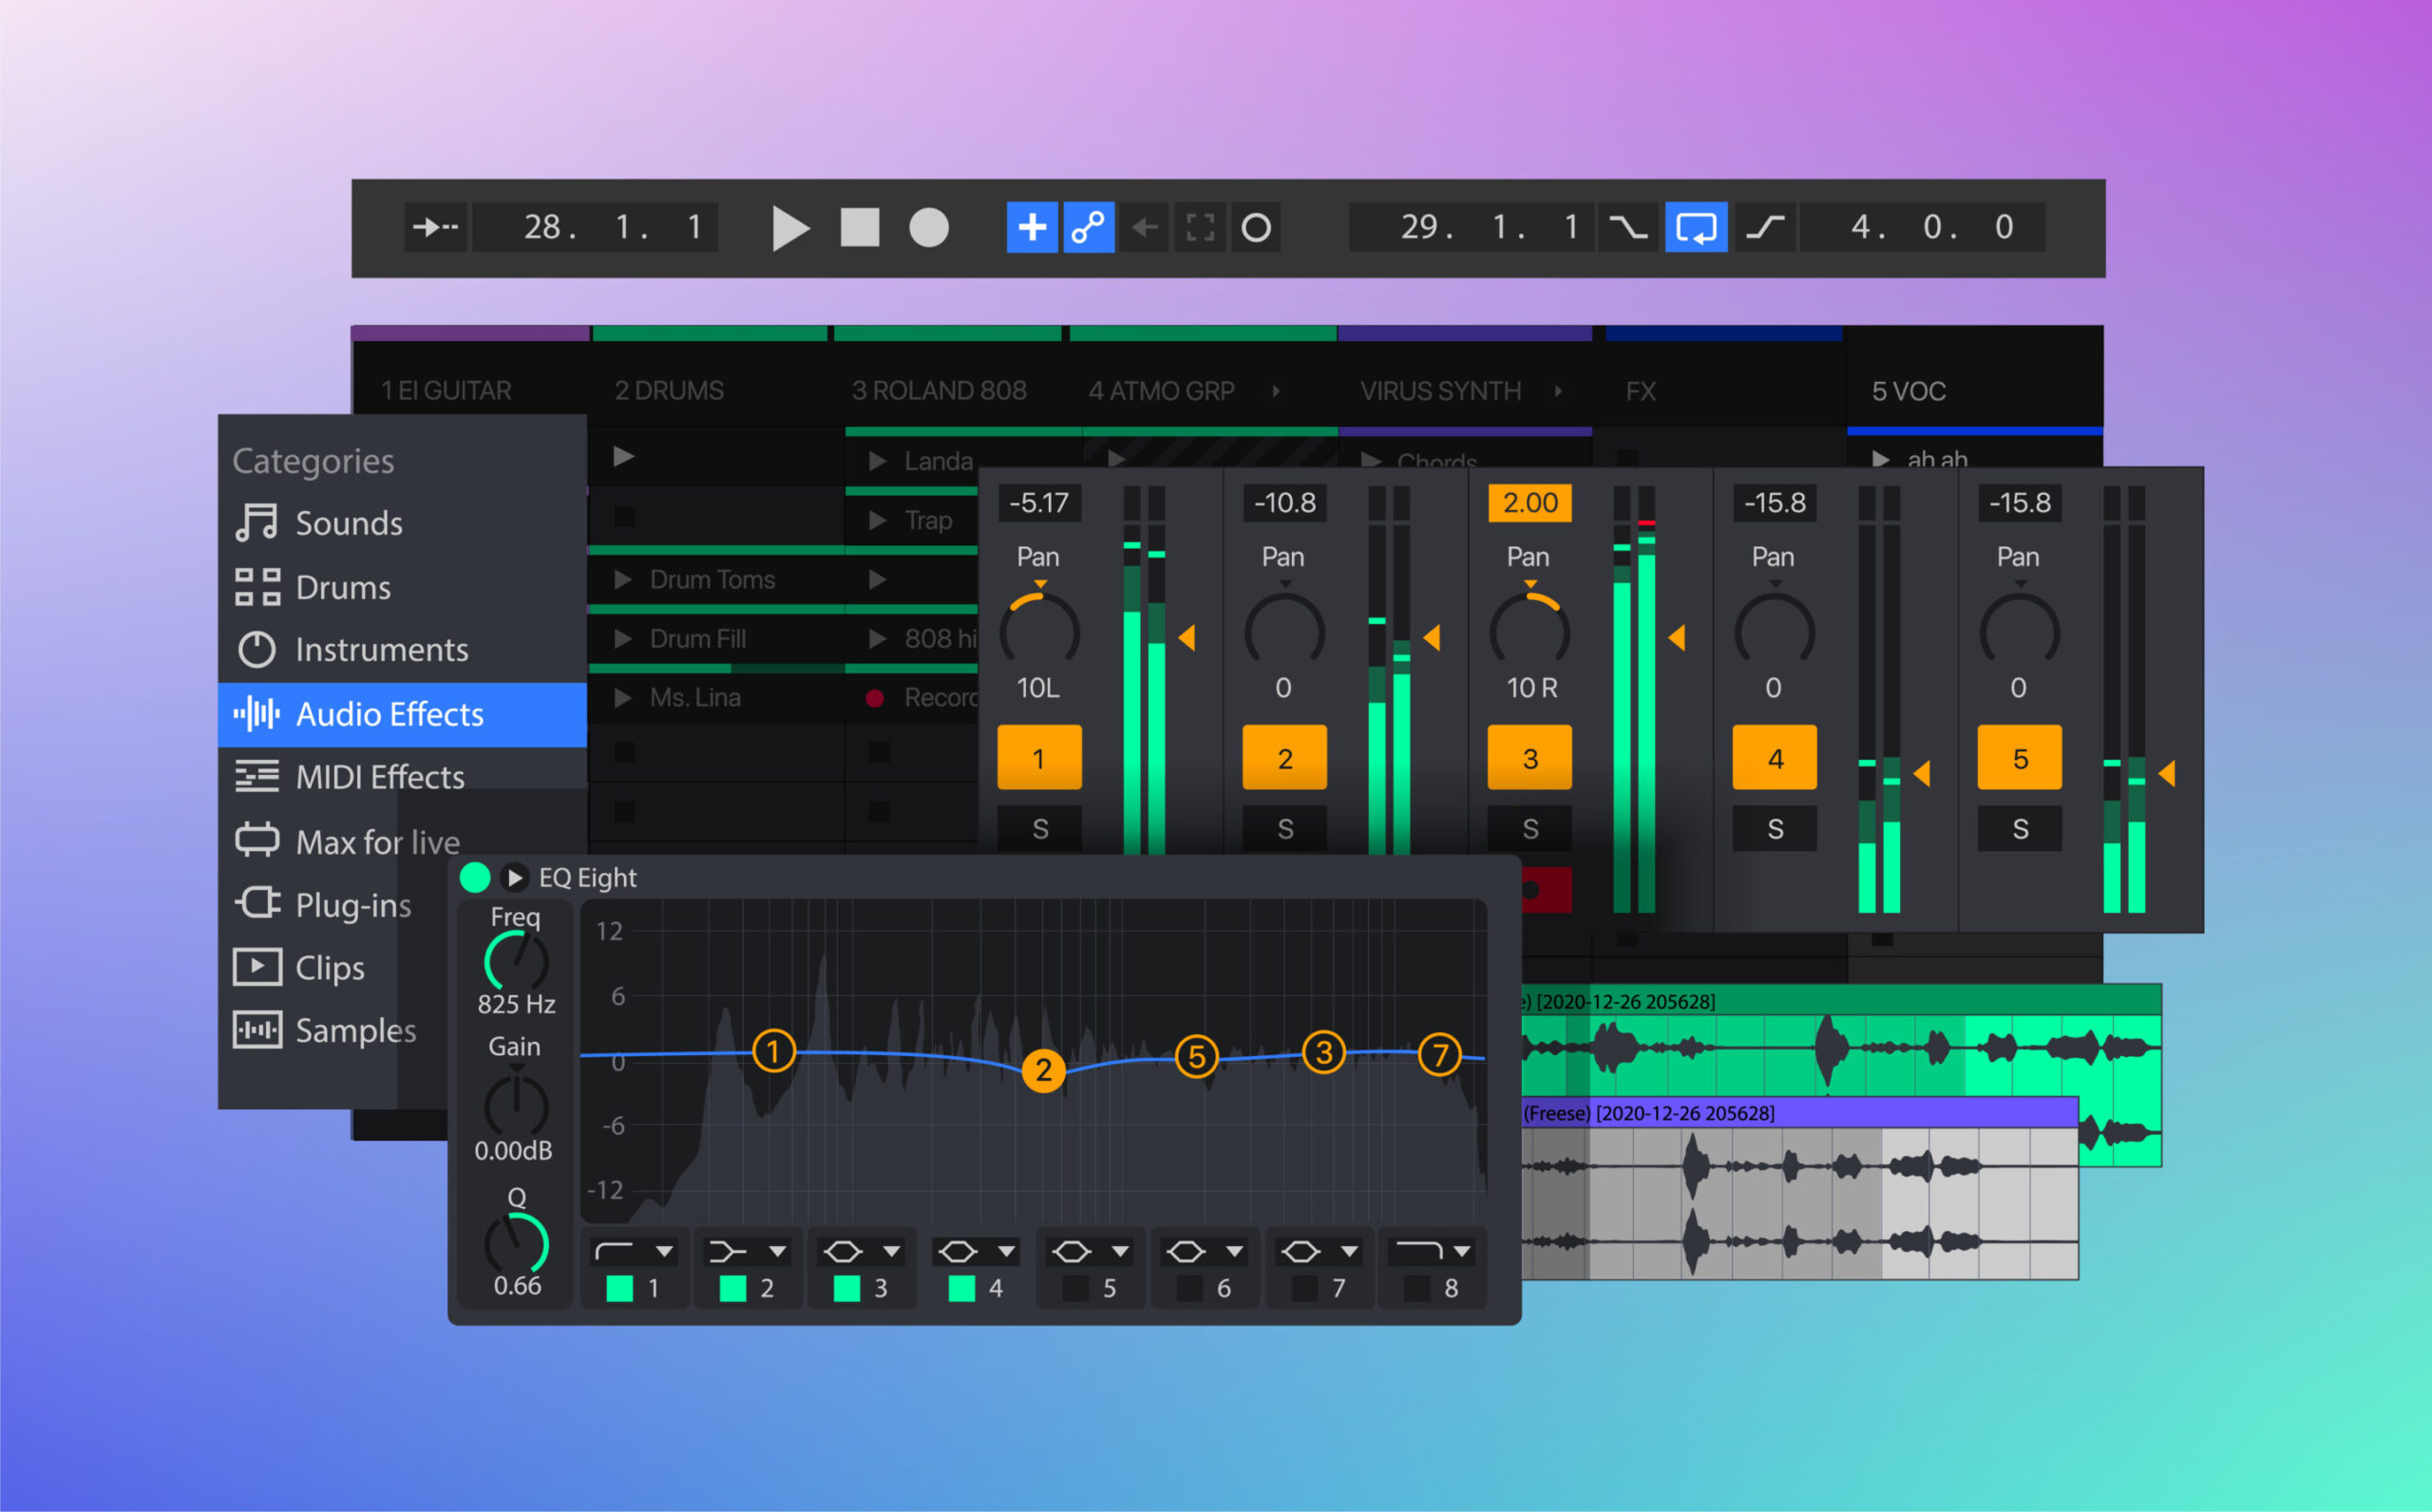
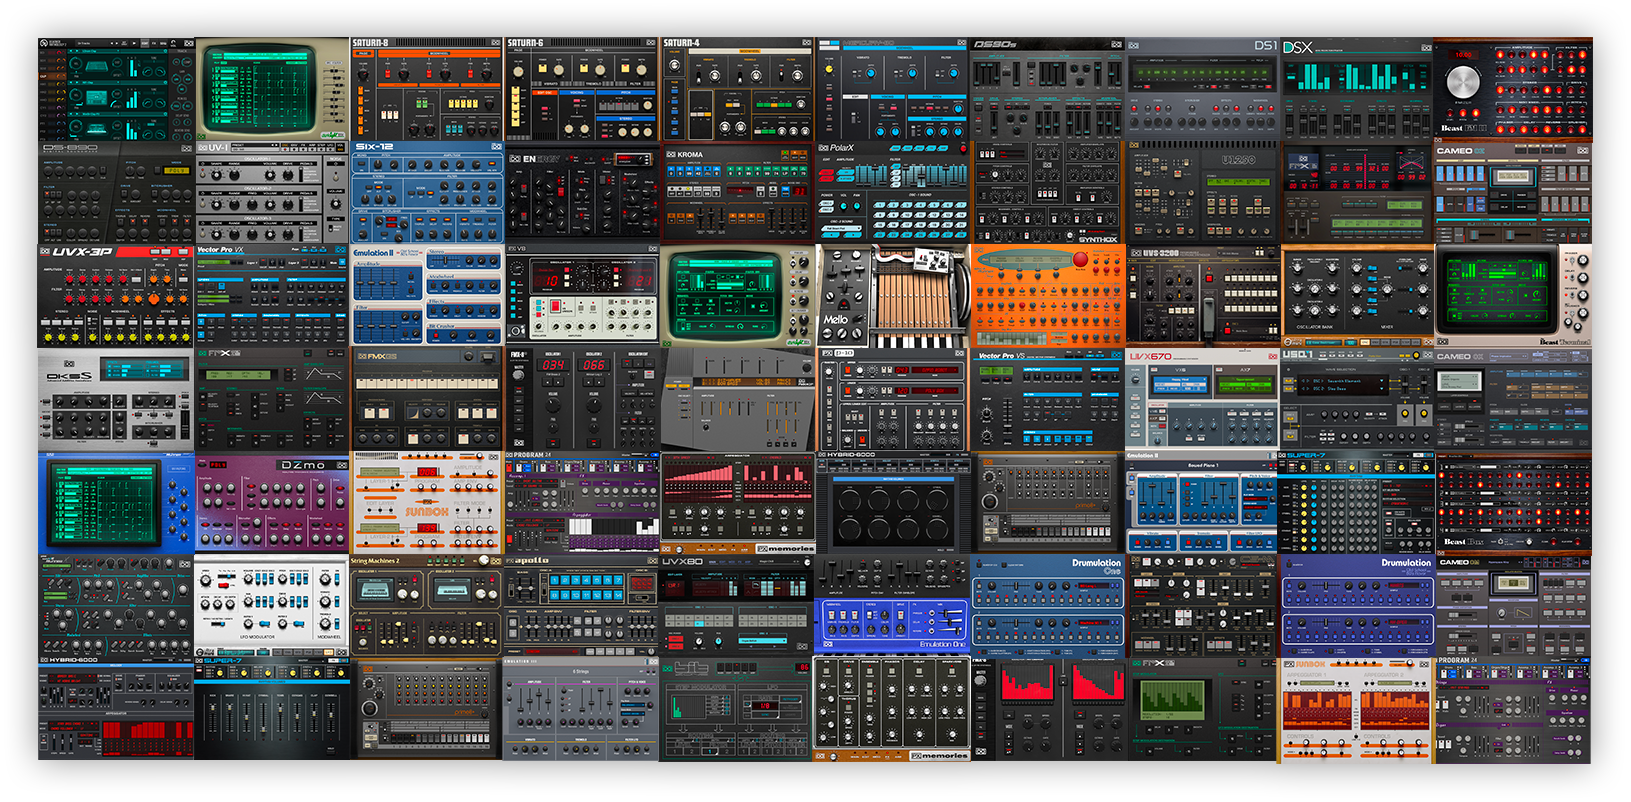
Achieving a professional sound in your mixes is no longer reserved for high-end studios. With the right VST effects and a solid understanding of mixing techniques, anyone can craft polished, radio-ready tracks from a home studio. In this comprehensive guide, you’ll learn how to use VST plugins—EQs, compressors, reverbs, delays, and more—to elevate your mixes to a professional level. Whether you’re a beginner or an experienced producer, these actionable tips and workflow secrets will help you get the most out of your plugins and bring your creative vision to life.
Understanding the Role of VST Effects in Mixing
Virtual Studio Technology (VST) effects are digital tools that process audio in real-time. They emulate classic hardware or introduce entirely new possibilities for sound shaping. The most common VST effects used in professional mixing include:
- EQ (Equalization)
- Compression
- Reverb
- Delay
- Saturation
- Stereo Imaging
- Limiting
Each effect plays a unique role in sculpting your mix. The key is knowing how and when to use them for maximum impact.
Step-by-Step Mixing Workflow Using VST Effects
1. Start with Volume Balancing
Before adding any effects, set the volume of each track so every element is clearly audible. This foundational step ensures no part of your mix overpowers the others.
2. Apply EQ: Sculpting Your Sound
EQ is your primary tool for shaping the frequency content of each track. Use it to:
- Cut unwanted frequencies (e.g., low-end rumble on vocals)
- Boost presence (e.g., add clarity to guitars or vocals)
- Create space by removing frequency clashes between instruments
Pro Tip: Subtractive EQ (cutting frequencies) is often more effective than boosting.
Recommended Free & Paid EQ VSTs:
- FabFilter Pro-Q 3 (paid)
- TDR Nova (free)
- Voxengo Marvel GEQ (free)
Video Example:
How to EQ Like a Pro (YouTube)
3. Compression: Controlling Dynamics
Compression evens out the volume of your tracks, making them sound more consistent and polished. Use compression to:
- Tame peaks on vocals and drums
- Add punch to snare and kick
- Glue instruments together for a cohesive sound
Pro Tip: Use subtle compression for transparency, and experiment with attack/release settings for different effects.
Recommended Free & Paid Compressor VSTs:
- TDR Kotelnikov (free)
- Waves SSL G-Master Buss Compressor (paid)
- Ableton Glue Compressor (included in Ableton Live)
Video Example:
Mixing Vocals with Compression (YouTube)
4. Saturation: Adding Warmth and Character
Saturation plugins emulate the harmonic distortion of analog gear, adding warmth, grit, and presence. Use them to:
- Enhance drums and bass
- Add energy to vocals
- Glue your mix together
Pro Tip: Use saturation sparingly for subtle enhancement, or push it for creative effects.
Recommended Saturation VSTs:
- Softube Saturation Knob (free)
- Soundtoys Decapitator (paid)
5. Reverb and Delay: Creating Space and Depth
Reverb and delay are essential for making your mix sound three-dimensional. They simulate the natural reflections and echoes of real spaces.
Reverb Tips:
- Use short reverbs for drums and longer, lush reverbs for vocals or pads.
- Automate reverb levels to highlight different song sections.
Delay Tips:
- Use slapback or timed delays to add movement to vocals and guitars.
- Sync delay times to your track’s tempo for rhythmic effects.
Pro Tip: Combine reverb and delay for lush, immersive soundscapes, but avoid overuse to keep your mix clear.
Recommended Reverb/Delay VSTs:
- Valhalla Room (reverb, paid)
- Soundtoys EchoBoy (delay, paid)
- OrilRiver (reverb, free)
- Voxengo Tempo Delay (free)
Video Example:
Creating Depth with Reverb & Delay (YouTube)
6. Stereo Imaging: Widening Your Mix
Stereo imaging plugins help you place sounds across the stereo field, making your mix feel wider and more immersive.
- Pan instruments to create space and avoid frequency clashes
- Use stereo widening plugins on synths, pads, or backing vocals
Pro Tip: Keep bass and kick centered for punch and clarity.
Recommended Stereo Imaging VSTs:
- iZotope Ozone Imager (free)
- Waves S1 Stereo Imager (paid)
7. Limiting and Final Touches
A limiter is the last processor in your chain, preventing peaks from clipping and maximizing loudness. Use it gently to retain dynamics while achieving commercial loudness levels.
Pro Tip: Always check your mix on different devices (headphones, speakers, car stereo) to ensure it translates well everywhere.
Advanced Mixing Techniques with VST Effects
Parallel Processing
- Parallel Compression: Blend a heavily compressed signal with the dry track for punch without losing dynamics.
- Parallel Saturation: Add harmonic excitement subtly.
Mid/Side Processing
- Use mid/side EQ or compression to treat the center and sides of your mix differently, enhancing clarity and width.
Automation for Movement
- Automate plugin parameters (e.g., reverb amount, delay feedback, filter sweeps) to create evolving, dynamic mixes.
Plugin Chains and Order: Why It Matters
The order of your plugins affects the final sound. A typical chain might be:
- EQ (clean up)
- Compression (control dynamics)
- Saturation (add color)
- EQ (tone shaping)
- Reverb/Delay (space)
- Limiter (final level)
Experiment with different orders for creative results.
Affordable and Free VST Plugins for Professional Results
You don’t need expensive plugins to achieve a professional sound. Many free VSTs rival paid options:
| Category | Free Plugin | Paid Alternative |
|---|---|---|
| EQ | TDR Nova | FabFilter Pro-Q 3 |
| Compression | TDR Kotelnikov | Waves SSL G-Master |
| Reverb | OrilRiver | Valhalla Room |
| Delay | Voxengo Tempo Delay | Soundtoys EchoBoy |
| Saturation | Softube Saturation Knob | Soundtoys Decapitator |
| Stereo Imaging | iZotope Ozone Imager | Waves S1 |
Best Free VST Effect Plugins for Mixing (YouTube)
Common Mistakes to Avoid When Using VST Effects
- Over-processing: Too many effects can make your mix muddy or artificial.
- Ignoring gain staging: Keep input/output levels consistent to avoid distortion.
- Overusing reverb/delay: Leads to a washed-out sound.
- Not referencing: Always compare your mix to professional tracks in a similar genre.
Case Studies: Professional Sound in Action
- Billie Eilish’s “Ocean Eyes”: Spacious reverb on vocals for a dreamy, ethereal vibe.
- The Weeknd’s “Blinding Lights”: Creative use of delay for rhythmic vocal hooks.
Recommended YouTube Tutorials and Resources
- The Effects Pro Mixers Use on Virtual Instruments (YouTube)
- Mixing tips: Create depth with these plugins (YouTube)
- Best FREE VST Effect Plugins For Mixing (YouTube)
Further Learning
- Advanced Mixing with Plugins: Pro Production Techniques (Udemy)
- 13 Great Plugins for Mixing Vocals (+ Mix Tips)
“The real art lies in how you combine different processors. The order matters – an EQ before compression will make the compressor respond differently than if you put it after. Similarly, adding saturation at different points in your chain can create distinctly different tonal flavors.”
Conclusion
Mastering VST effects is the key to transforming your mixes from amateur to professional. By understanding the purpose of each effect and applying them thoughtfully, you can achieve clarity, depth, and punch in your productions. Remember, the best mixes come from a balance of technical skill and creative experimentation—so keep learning, keep tweaking, and trust your ears.


